Assignment 7: ExCELlence in Editing —
Due: Tues 11/20 at 9:00pm; self-evaluation due Wed 11/21 at 10:00pm
Starter files: code.zip
This assignment is to be completed with the same partner as Assignment 6, unless you have been reassigned.
1 Goals
In this assignment you will complete your animator application. So far, you’ve designed a model that can represent animations, and a visual view that can play through the animation once. But to turn this simple player into a more useful editing tool, we need to add some functionality to it: we’d need to be able to play the animation more than once, and add, remove, or modify items from the animation and see what effect our edits have. Building this new functionality should not break anything we’ve already gotten working, though, so your existing views should remain and continue to work.
This assignment is organized as follows:
It gives you a sequence of steps to follow, each of which describes what you’re trying to accomplish, and then states what features are specifically required.
After that, it gives you some helpful tips and example code for working with Swing UI components, key handling, mouse handling, testing, etc.
Finally, as always, it lays out the required submission guidelines.
Please read through carefully, to make sure you haven’t missed any requirements or hints that might help you.
2 Step 0: Cleaning up your design
Most likely, you have an interface for a view, which is directly implemented by
your text, visual and SVG views. You will notice that some views offer
operations that other views do not (e.g. only the visual view has the notion of
“running time”). You may either create a super interface that offers all
functions, and then have individual views suppress some of them (for example,
by throwing UnsupportedOperationException), or you can create interfaces
for each view type/capability and implement your views accordingly (interface
segregation).
Interaction, or “back-and-forth between the user and the program” makes the
role of a controller more well-defined and non-trivial than it may have seemed
in the previous assignment. Like views and models, controllers are best
described as an interface whose purpose is to mediate the interactions between
the view and the model. Multiple implementations of controllers are possible
—
3 Step 1: Adding playback controls to a new view
3.1 Motivation
Since we’re going to be editing animations, we’ll want to have standard video
playback controls —
3.2 Requirements
Design a new view that contains the existing visual view as a component within it, and adds the following abilities:
Start, pause, resume, and restart (i.e. rewind to beginning and start the animation again) the animation with explicit user input (e.g. key press, button click, etc).
Enable/disable looping: enabling looping should cause the animation to automatically restart once it reaches the end.
Increase or decrease the speed of the animation, as it is being played, and immediately see the results.
NOTE: You should not add this functionality directly to the existing visual view; you should build a new, composite view, and leave your existing visual view alone.
Add an extra option to the
-viewcommand-line option:"edit". Specifying this option should open this editor view.
Update: for Assignment 6 you likely had a
class that extends JFrame and implements YourViewInterface. You
also must have had some class that extends JPanel and did all the
“interesting” graphical work; the JFrame probably was pretty thin in
terms of its own functionality. For this assignment you need to reuse the
JPanel as a component in your new editor view; you do not have to
reuse the JFrame class you created, and can develop a new one if needed.
You are free to design the interaction in any way you wish. However your application must meet the following standards:
The application must provide visual cues about what input is expected (e.g. a hard-to-guess sequence of keystrokes to do something is not acceptable), i.e., the user interface should be discoverable.
The application must provide visual cues about the effect that a user’s input has had (e.g. a user should know which objects are currently selected, and how to change this selection).
The interactions must be reasonably user-friendly and intuitive. We do not expect snazzy, highly user-friendly programs. Our standard is: can a user unfamiliar with your code and technical documentation operate the program correctly without reading your code and technical documentation?
4 Step 2: Editing Keyframes
4.1 Motivation
As many of you noticed in the prior two assignments, describing an animation using motions over an interval of time is not always convenient: the possibility of intervals implies the possibility of gaps and/or overlaps between intervals, and making sure that there are no such glitches is both annoying and error-prone. Even worse, now that we want to edit animations, we might easily create such mistakes temporarily while we edit. Since our model should ensure that it never gets into an invalid state, how could we possibly support these kinds of edits?
Several of you came up with an alternate design that redefines the problem: instead of representing intervals directly, your models focused on their endpoints. In a real sense, the endpoints of motions were the only places where anything interesting happened, since they completely determine appearance of your animation at all moments between them. These critical points are known as keyframes.
Every motion in the prior two assignments will now be considered as defining two keyframes, at their start and end times. When two motions are consecutive, the first motion’s end time and state coincides with the second motion’s start time and state, so this really defines just one keyframe. Every shape now is associated with zero or more keyframes, and every pair of successive keyframes defines a motion: your visual view should tween one keyframe to the next to produce the animation.
(Note that your SVG and text views still need to produce output describing the animation in terms of motions, so you can’t simply discard your prior organization of your data. Somehow these two conceptions of animations need to coexist.)
4.2 Deleting keyframes
Editing an animation by inserting and deleting keyframes is easier than by inserting and deleting motions: since each keyframe is independent of the others, your model should simply tween whatever keyframes currently exist. For instance, suppose we had the following file:
shape R rectangle
# animate a square from red to green...
motion R 0 10 10 50 50 255 0 0        20 10 10 50 50 0 255 0
# ...then animate from green to blue
motion R 20 10 10 50 50 0 255 0       40 10 10 50 50 0 0 255
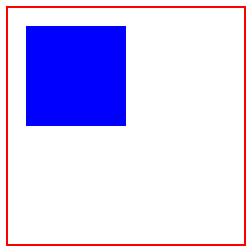
This would produce three keyframes, at times 0, 20 and 40. Below we show a few frames from the animation, with keyframes outlined in red
t = 0 |
| t = 10 |
| t = 20 |
| t = 30 |
| t = 40 |
|
|
|
|
|
|
|
|
|


Suppose we tried to delete one of these keyframes:
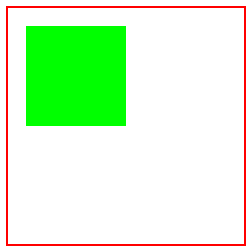
If we delete the first keyframe, then the square would appear at time 20, and animate from green to blue.
t = 0
t = 10
t = 20
t = 30
t = 40


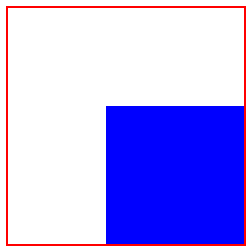
If we delete the middle keyframe instead, then the animation would animate from red at time 0 to blue at time 40 (and so it would be purple at time 20).
t = 0
t = 10
t = 20
t = 30
t = 40


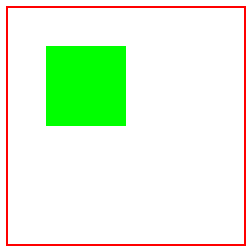
If we delete the last keyframe instead, the square would animate from red to green and disappear at time 20.
t = 0
t = 10
t = 20
t = 30
t = 40


Note: I’m still showing times 0 through 40 in each of these scenarios so that the images stay in correspondence. Assuming there are no other shapes to be animated, then in the first and third cases, the animation would actually be shorter: from times 20 to 40 in the first case, and from times 0 to 20 in the third.
4.3 Inserting keyframes
To add a keyframe at a particular time between two existing keyframes, you should tween the two nearest keyframes and initialize the new keyframe with whatever the appropriate state of the shape should be at the requested time. In other words, inserting a keyframe into an existing animation should not change what the animation looks like...yet. But once the keyframe has been added, you can further edit it. For example, suppose we had an animation
shape R rectangle
# animate a square from red to blue
motion R 0 10 10 30 30 255 0 0        40 50 50 70 70 0 0 255
This changes the size, position, and color of the rectangle all at once, and looks like this:
t = 0 |
| t = 10 |
| t = 20 |
| t = 30 |
| t = 40 |
|
|
|
|
|
|
|
|
|


Suppose we wanted to change the colors, so that instead of tweening from red to blue, it should pass through green along the way. If we add a keyframe at time 10, we ought to have the following three keyframes:
time=0,  pos=(10,10), size=(50,50), color=(255,0,0)
time=10, pos=(20,20), size=(60,60), color=(192,0,64)
time=40, pos=(50,50), size=(90,90), color=(0,0,255)
t = 0 |
| t = 10 |
| t = 20 |
| t = 30 |
| t = 40 |
|
|
|
|
|
|
|
|
|


Adding the keyframe has not affected the animation. But now that it’s a keyframe, we can edit the color of that keyframe, without affecting the position or size on that keyframe, and ensure that the overall motion remains smooth. If we set it to green, the animation now looks like
t = 0 |
| t = 10 |
| t = 20 |
| t = 30 |
| t = 40 |
|
|
|
|
|
|
|
|
|


4.4 Requirements
Enhance your editor view with the abilities to:
Create or delete shapes.
Create, delete, or modify keyframes of existing shapes, as described above.
You must also be able to add a keyframe before the first or after the last existing keyframe (or even add the very first keyframe to a shape that has none). You must decide what behavior would be reasonable in such circumstances, and document your choice.
Implement whatever controller, keyboard and mouse handlers you need to support the new view’s functionality. Place all the code of your views in the
cs3500.animator.viewpackage, and the controller and handlers in thecs3500.animator.controllerpackage.Document any further changes made to your models or views from the previous assignments: explain what was added, removed or changed (besides the package declaration), and why. You should place this documentation in your code and a separate
README.txtfile. PLEASE DON'T FORGET TO SUBMIT THIS README FILE! (The file can be plaintext, with extension.txt, or Markdown, with extension.md. Please don’t forget the extension.)
Again, you are free to design the interactions in any way you wish. However your application must meet the same standards as in Requirements above.
5 Steps 0–∞: Testing
Testing any keyboard handlers is straightforward —Runnables with those that make it easier to confirm that the
appropriate one is run with the appropriate key.
Testing the controller should also be straightforward —
Write tests for various components of your application (controller, listeners).
Complete any testing from the last assignment that you didn’t otherwise finish.
6 Design tips
The following sections offer helpful design tips. You may find them useful or not, depending on how you choose your user interface elements.
6.1 Dividing functionality into MVC
Look at the code for the MVC examples and the turtles example. Notice how the functionality is divided into model, view and controller. Make your decisions based on the roles of these components.
Remember to consider the possibility of adding capabilities to views, or creating new views. If this happens, are the changes isolated and/or minimal? Is your controller really controlling the application? Is your model catering to the specific needs of some view?
6.2 Handling the keyboard, generally
Look at the code for the MVC examples. Since you may be using several keys in this assignment, using the map design is recommended. Recall how the controller gets control when a key is pressed: make sure your implementation of this assignment retains this essential ability of a controller.
6.3 Mouse handling
Mouse handling involves a MouseListener interface and possibly the
MouseMotionListener interface, just as keyboard handling involved a
KeyListener.
Design a class that implements
MouseListener. It probably does not need to be as sophisticated and indirect as theKeyboardHandlerabove, since there are only three possible mouse events (left, middle and right clicks), rather than an entire keyboard.Enhance your controller to create one of these mouse listener objects, and configure it however you need to.
If you need to define only 1 or 2 of these listener methods, starting from a
MouseAdaptermay be simpler.
6.4 Swing controls
If you choose to design a sophisticated UI, you will likely need to use
JButtons, JTextFields, and possibly JLists (and
DefaultListModels), JScrollPanes, and maybe just some plain
JPanels to use as containers to hold multiple controls within them (if
you’re trying to build a nice-looking layout). You may need to look at
layout managers like BoxLayout or GridBagLayout.
Note: if you do choose to use a JList, it will be exactly as tall as
needed to contain all its items. If you want it to be shorter, and to have a
scrollbar, then you should nest it within a JScrollPane.
We have provided you with starter code at the top of this assignment. It is not complete code, but simply shows you how to construct many common Swing components and connect event listeners to them. Please consult the documentation for more thorough explanations of various Swing elements.
6.5 Organization of dependencies
Notice that the controller is telling the view “please use the following objects to react to events,” while the view is advertising that it is capable of reacting to mouse and keyboard events by offering methods that can be called by the controller. The views don’t have to know anything about what the controller wants to do with those events, or even have a reference to the controller object directly. This arrangement ensures a looser coupling between the controller and view, and allows the controller to freely modify the keys it wants to handle without requiring changes within the view (beyond the initial, generic ability to handle events in the first place).
Hint: When you are testing each component above, be clear about what you are testing. The objective of testing the keyboard handler is to ensure that the appropriate action is taken on the appropriate key, not whether that action is successfully completed (that is part of testing the controller).
7 Step 4: Extra-credit functionality
Add the ability for a user to save their beautiful, edited, animated masterpiece. A user should be able to save as either the textual format or as an SVG. For credit here, you must not simply merge your existing views into a single class, but rather keep your views separated and delegate to them as appropriate.
Add the ability for a user to load a file from within your UI.
Do not attempt the extra credit unless you’ve completed the required functionality above. We will not count it as extra credit unless the required features are completed. (You will still have the opportunity for extra credit in Assignment 9.)
8 Grading standards
For this assignment, you will be graded on
the design of your entire project,
the quality of supporting documentation (Javadocs and README),
whether all your views (the previous ones and the editor one) work correctly,
how well you justify any changes made to your earlier code,
whether the required features work,
how much replication/duplication exists in your views,
whether your usability choices are reasonable,
the correctness and thoroughness of your tests.
9 Submission
Submit all your source code, for this entire project.
Submit all your test cases.
Submit a plaintext
README.txt(or MarkdownREADME.md) file explaining your design. Make sure you explain your design changes from the previous assignment.Submit a screenshot of your editor view, rendering the
buildings.txtfile. It must clearly show your user interface, along with some stage of the animation. You must submit it as a JPEG, with file extension.jpg, or as a PNG, with file extension.png—and the file extensions are case-sensitive. Submit a JAR file (with extension
.jar) file that can run your program.
To create a JAR file, do the following:
Go to File -> Project Structure -> Project Settings -> Artifacts
Click on the plus sign
Choose
JAR-> From Modules with dependencies. You should now see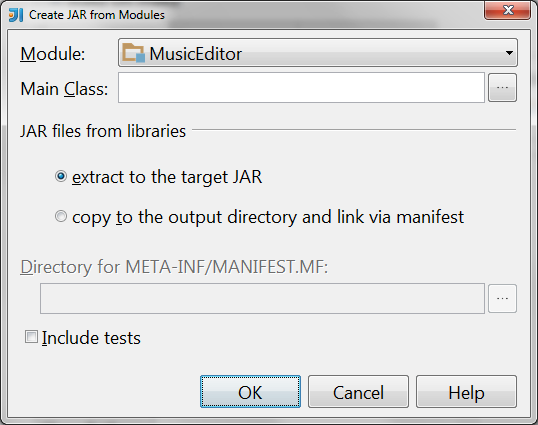
Select the main class of your program (where you defined the
main(String[] args)method)If you see a checkbox labelled “Build on make”, check it.
Hit ok
You should now see something like
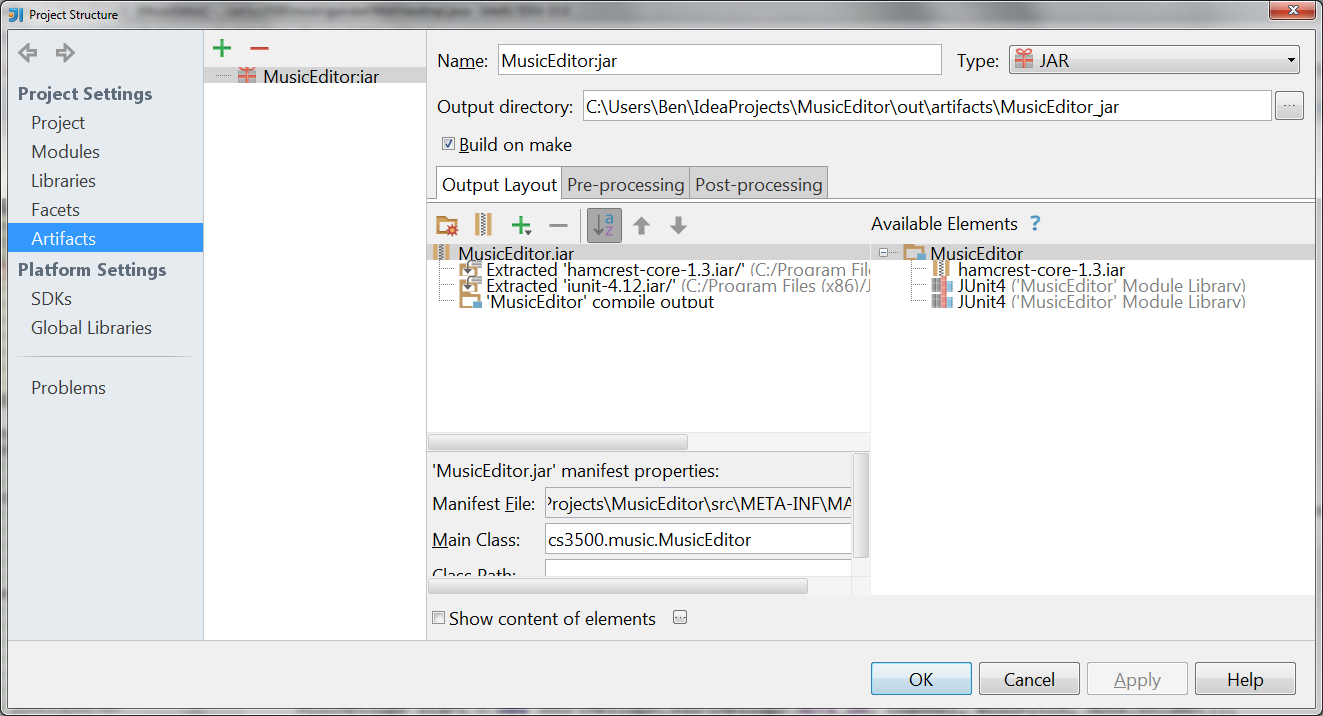
If now you see a checkbox labelled “Build on make”, check it now.
Click ok
Make your project (Go to Build -> Artifacts, select the jar artifact you created above, and select “Rebuild” for a full rebuild of the project. Your
.jarfile should now be in<projectRoot>/out/artifacts/.Please test your jar file thoroughly by running it using various command-line arguments. This will our primary means of testing your program
Please submit your homework to https://handins.ccs.neu.edu/ by the above deadline. Then be sure to complete your self evaluation by the second deadline.